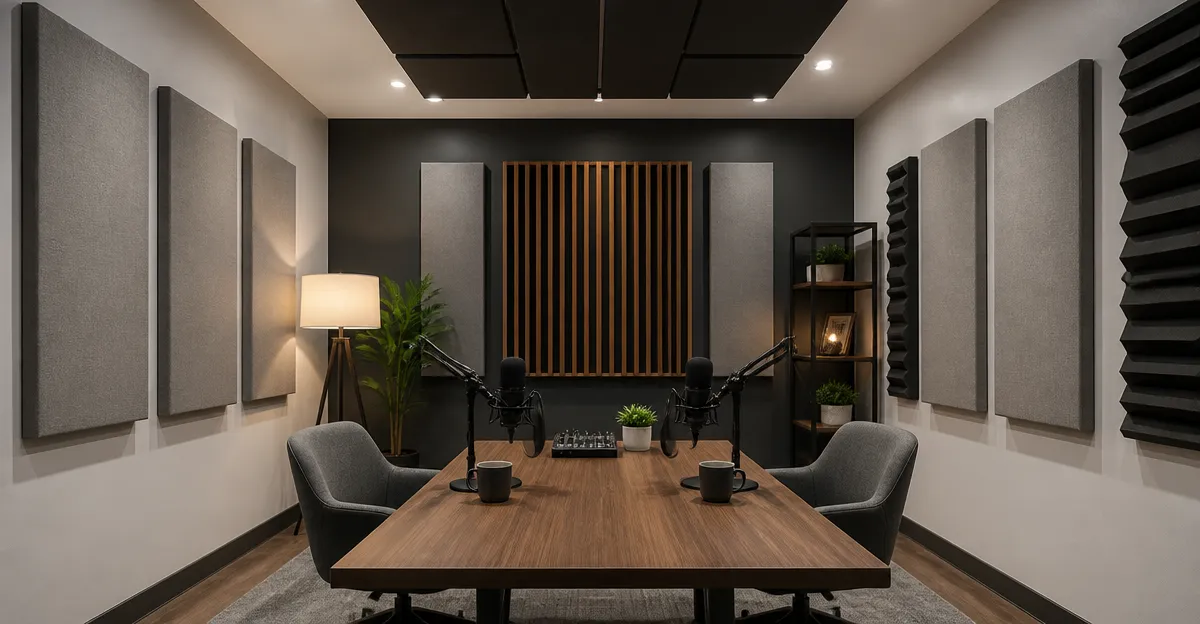
Introduction
Anyone who records spoken word in a rectangular space quickly discovers that flutter echo can ruin clarity. Flutter echo occurs when sound waves bounce repeatedly between two parallel surfaces, creating a rapid, ringing reverberation that masks the speaker's voice. This guide explains how to diagnose and eliminate flutter echo using practical, budget‑friendly DIY treatments. Readers will learn to measure their room, select appropriate acoustic panels, install them correctly, and fine‑tune the environment for professional‑grade sound. By following these steps, a podcaster can transform a reflective room into a quiet, controlled recording studio without extensive construction.
What You'll Need
- Acoustic foam panels such as SD SODOCT Acoustic Foam Panels
- Wedge‑shaped foam like Saiqiang Acoustic Foam Panels
- High‑density foam panels such as Knightsacoustic Foam Panels
- Fiberglass wall panels like UMIACOUSTICS Fiberglass Acoustic Panels
- Dual‑layer fabric panels such as TONOR Dual‑Layer Acoustic Wall Panels
- Adhesive (spray or double‑sided tape), mounting brackets, a measuring tape, a level, and a utility knife.
Step 1: Assess Room Dimensions and Identify Flutter Echo Sources
Begin by measuring the length, width, and height of the podcast room. Record the dimensions in a simple sketch, marking the locations of windows, doors, and any existing furniture. Flutter echo typically originates from two large, parallel surfaces—most often the front and back walls or the ceiling and floor. Use a short burst of sound (a hand clap or a starter pistol app) and listen for a rapid, metallic ringing. If the echo persists for more than a second, the room requires treatment.
Step 2: Treat Parallel Walls with Broadband Absorbers
Broadband absorbers reduce the energy of mid‑range frequencies that contribute to flutter echo. The 2‑inch thick SD SODOCT Acoustic Foam Panels are ideal for this task because their pyramid design maximizes surface area, enhancing diffusion while providing a high Noise Reduction Coefficient. Each panel costs $34.99, carries a 4‑star rating from 2,397 reviewers, and is flame‑retardant for safety. Install the panels in a staggered pattern on both the front and back walls, covering roughly 20‑30% of each surface. Use construction adhesive or nano double‑sided tape (not included) to secure the lightweight panels. The staggered arrangement prevents standing waves and distributes absorption evenly.
Step 3: Add Corner Bass Traps to Control Low‑Frequency Build‑Up
Low frequencies tend to accumulate in room corners, reinforcing flutter echo at higher frequencies. While the foam panels address mid‑range reflections, a denser material is needed for bass control. The Knightsacoustic Foam Panels offer high‑density construction at $54.99 for a 50‑pack, rated 4.4 stars by 93 reviewers. Their resilience allows them to retain shape after compression, making them suitable for corner placement. Cut the panels to fit the vertical corners and secure them with the recommended square adhesive (search B0CFV11LVN) or with T‑pins. Fill each corner from floor to ceiling for optimal low‑frequency absorption.
Step 4: Treat the Ceiling with Lightweight Foam
The ceiling is often overlooked, yet it forms the upper boundary of the flutter echo path. The Saiqiang Acoustic Foam Panels provide an economical solution at $14.99 for a 12‑pack, rated 4 stars by 932 reviewers. Their 1‑inch wedge shape offers directional absorption, which helps break up vertical reflections. Because they arrive vacuum‑packed, allow 24–48 hours for full expansion before installation. Apply the included sticky tabs or nano double‑sided tape to attach the panels directly to the ceiling grid. Position them in a grid pattern, focusing on the area directly above the microphone to dampen ceiling‑originating flutter echo.
Step 5: Incorporate Fabric‑Wrapped Fiberglass Panels for Aesthetic Balance
While foam works well for functional treatment, a professional studio often requires aesthetically pleasing panels. The UMIACOUSTICS Fiberglass Acoustic Panels combine 2‑inch thick fiberglass cores with linen‑like fabric, delivering high absorption and a refined look. Priced at $92.99 for a 4‑pack and rated 4.5 stars by 200 reviewers, these panels include mounting brackets and a template for precise placement. Install them on the side walls at the first reflection points—approximately one‑third of the distance from the speaker to the wall. The removable design allows future reconfiguration without damaging the walls.
Step 6: Finish with Decorative Dual‑Layer Panels for Additional Diffusion
For the final polish, consider the TONAR Dual‑Layer Acoustic Wall Panels. These 0.72‑inch thick, fabric‑covered panels cost $94.99 for a 4‑pack and hold a 4.4‑star rating from 606 reviewers. Their dual‑layer construction provides both absorption and diffusion, reducing residual flutter echo while serving as decorative wall art. The self‑adhesive backing simplifies installation; simply peel and stick the panels at strategic locations such as the rear wall behind the microphone. Cut openings for outlets with a utility knife, ensuring a clean finish.
Tips & Pro Tips
- Use a laser level to maintain consistent height when mounting wall panels; uneven placement can create new reflection paths.
- Apply a thin layer of spray adhesive (e.g., Scotch 6065) to foam panels that feel insecure; this improves long‑term adhesion without damaging paint.
- Allow foam panels to fully expand before installation; a humid environment speeds up the process.
- Combine absorption with diffusion: place diffusers opposite absorbers to balance the room’s acoustic response.
- Test the room after each treatment stage with a calibrated microphone and recording software to measure reverberation time (RT60).
Troubleshooting
Problem: Persistent flutter echo after installing wall panels.
Solution: Verify that panels cover at least 20 % of each parallel surface. Add additional foam to uncovered sections, or install thin bass traps in the corners.
Problem: Panels emit a strong odor.
Solution: Air the panels in a well‑ventilated area for 24 hours. For foam that continues to off‑gas, wipe with a damp cloth and allow it to dry.
Conclusion
Reducing flutter echo in a rectangular podcast room is achievable with a systematic approach: measure the space, treat parallel walls, address ceiling reflections, add bass traps, and finish with decorative yet functional panels. By selecting the right combination of acoustic products—such as the pyramid panels from SD SODOCT, wedge panels from Saiqiang, high‑density Knightsacoustic foam, UMIACOUSTICS fiberglass panels, and TONAR dual‑layer panels—podcasters can achieve clear, professional‑grade sound without extensive renovation. Implement the steps, test the results, and enjoy a quieter, more controlled recording environment.
Products Mentioned in This Guide
Frequently Asked Questions
What is flutter echo and why does it hurt podcast audio?
Flutter echo is a rapid ringing caused by sound bouncing between parallel surfaces, which masks speech clarity and makes recordings sound harsh.
How can I tell if my room has flutter echo?
Listen for a thin, metallic ringing after a sound stops, especially when speaking near opposite walls or a flat ceiling‑floor pair.
What budget‑friendly acoustic panels work best for cutting flutter echo?
Low‑cost options like SD SODOCT foam, Saiqiang wedge‑shaped panels, and high‑density Knightsa foam absorb mid‑high frequencies and disrupt parallel reflections.
Where should I position foam panels to stop flutter echo in a rectangular space?
Mount panels on the two parallel walls at the first reflection points and add corner bass traps; stagger them to break the direct bounce path.
Is it possible to eliminate flutter echo without major construction?
Yes, strategic placement of DIY foam, wedges, and diffusers can effectively reduce flutter echo without building new walls or ceilings.