How to Set Up Podcast Lighting for Video Episodes: A Step‑by‑Step Guide to Professional, Affordable Results
Introduction
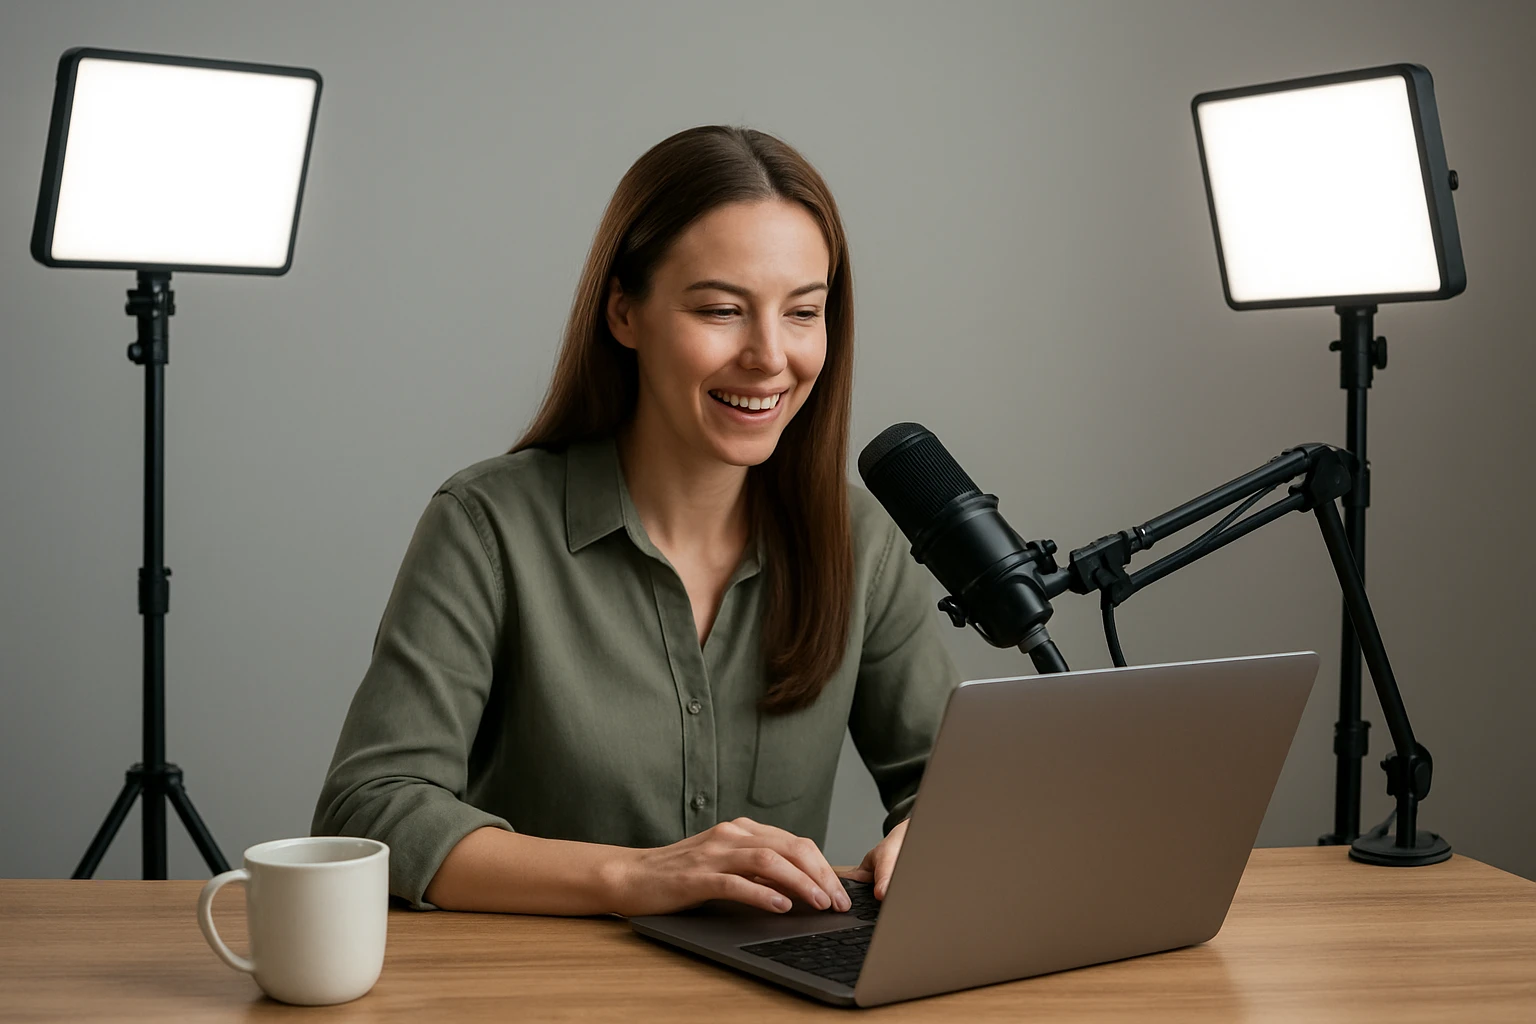
Creating high‑quality video podcasts requires more than a clear voice; lighting shapes the viewer’s perception of professionalism. This guide will teach the reader how to design a balanced lighting environment using affordable tools while explaining the underlying principles of light placement, color temperature, and diffusion. By following each step, one will achieve consistent illumination that enhances facial features, reduces shadows, and improves camera sensor performance. The result is a polished visual experience that rivals higher‑budget productions without excessive spending.
What You'll Need
- Two LED panel light kits (recommended: NEEWER 2‑Pack LED Video Light Kit and NiceVeedi LED Video Light Kit)
- Adjustable tripod stands (included with each kit)
- USB power source (laptop, power bank, or wall adapter)
- Optional diffusion material (white parchment or softbox)
- Camera or smartphone with manual exposure controls
- Basic room with neutral background
Step 1: Choose a Suitable Recording Space
Begin by selecting a room with minimal ambient light and a neutral backdrop; this reduces color casts and simplifies post‑production correction. Position the recording area away from windows or bright LEDs that cannot be controlled, because uncontrolled daylight can cause flickering and exposure shifts. Measure the distance between the microphone stand and the intended camera position, then mark the spot for the primary light source. A space of approximately 3‑4 meters provides enough room for light placement while keeping the audio setup compact.
Step 2: Set Up the Key Light
The key light is the primary source that defines the subject’s shape and texture. Place the NEEWER 2‑Pack LED Video Light Kit on a tripod at a 45‑degree angle to the speaker’s right side, slightly above eye level, and tilt it downward to avoid harsh shadows. Use the kit’s bi‑color feature to select a neutral daylight temperature (around 5600K) for a natural skin tone; the CRI>95 ensures accurate color rendering. Adjust the brightness using the 10‑step control until the face is evenly lit without overexposure on the forehead. The built‑in USB cable allows power from a laptop, keeping cables tidy and eliminating the need for a separate outlet.
Step 3: Add a Fill Light for Soft Shadows
The fill light reduces the contrast created by the key light, preventing deep shadows under the chin and nose. Position the second panel from the NiceVeedi LED Video Light Kit on the opposite side of the camera, at a lower intensity than the key light. Set the color temperature to 4800K for a slightly warmer tone that balances the cooler daylight of the key light, creating a pleasing visual contrast. Use the remote dimmer to lower the output to roughly 30‑40% of the key light’s intensity, then observe the result on a monitor to ensure shadows are softened but facial detail remains visible.
Step 4: Introduce a Backlight or Hair Light
A backlight separates the speaker from the background, adding depth and a professional three‑dimensional look. Mount one of the NEEWER panels on a higher tripod behind the subject, pointing downward at a 30‑degree angle toward the shoulders. Select the warm orange filter included with the kit to produce a subtle rim of light that highlights hair and shoulders without washing out the face. Adjust the height until the rim effect is visible on the edges of the head, then reduce brightness to a low level (around 20% of key light) to avoid glare.
Step 5: Diffuse Light for Softness
Direct LED panels can produce harsh highlights; diffusion softens the light and creates a flattering look. Attach the magnetic white filters that come with the NEEWER kit to both front panels, or place a thin white parchment sheet between the LED and the subject. The diffusion material spreads the light source, reducing the harshness while preserving the panel’s brightness. Verify the effect by recording a short test clip; the skin should appear smooth and the shadows gentle.
Step 6: Connect Power and Manage Cables
Both kits operate on 5V/2A USB power, allowing the use of a single power bank or laptop charger to feed all lights simultaneously. Connect the built‑in 6.6‑foot cable to a USB hub if necessary, then route the cables behind furniture or along the floor using cable clips. Keeping cables organized prevents tripping hazards and reduces visual clutter in the final video. Ensure each panel’s blue power‑indicator LED is off during recording to avoid unwanted flicker in the background.
Step 7: Calibrate Camera Settings
Set the camera’s white balance to match the dominant light temperature (5600K for the key light) or use a custom Kelvin setting if available. Disable auto‑exposure and manually adjust ISO, aperture, and shutter speed to maintain consistent lighting across takes. A typical starting point is ISO 400, f/2.8, and a shutter speed of 1/60 s for 30 fps video. Record a short test segment and review the histogram to confirm that highlights are not clipped and shadows retain detail.
Step 8: Conduct a Test Run and Fine‑Tune
Before the first official episode, record a full‑length test segment while speaking at normal volume. Observe the lighting on a larger monitor to detect any hotspots, color shifts, or uneven illumination. If shadows persist on one side, slightly increase the fill light’s brightness or reposition it closer to the subject. Adjust the backlight’s angle if the rim effect appears too strong or too weak, aiming for a subtle separation that does not distract from the speaker.
Tips & Pro Tips
- Use a matte backdrop to avoid reflective hotspots caused by the LED panels.
- When recording for extended periods, keep a spare power bank charged to prevent unexpected shutdowns.
- For a cinematic look, consider adding a low‑cost softbox diffuser made from white fabric and a PVC frame.
- Synchronise the panel’s dimming mode with the camera’s frame rate (e.g., 30 fps) to avoid flicker; both kits support continuous dimming for smooth adjustments.
- Place a small piece of black foam board behind the speaker to block stray light from the ceiling, which can cause color contamination.
Troubleshooting
Problem: Flickering light appears in the video.
Solution: Ensure the LED panels are set to continuous dimming mode rather than step‑press mode, and confirm that the power source provides a stable 5 V output.
Problem: Skin tones look overly cool or warm.
Solution: Re‑check the white‑balance setting on the camera and adjust the color temperature of the panels using the bi‑color dial (NEEWER) or the three‑temperature presets (NiceVeedi).
Problem: Shadows remain too harsh despite using a fill light.
Solution: Add an extra diffusion layer or move the fill light closer to the subject, reducing the distance between light source and face.
Conclusion
By following this step‑by‑step process, the reader can create a professional lighting setup that enhances visual quality while remaining budget‑friendly. The combination of the NEEWER and NiceVeedi LED kits provides versatile color control, adjustable brightness, and portable power options suitable for any home studio. Consistent lighting, proper camera calibration, and thoughtful placement result in clear, engaging video podcasts that attract and retain viewers.
Products Mentioned in This Guide
Frequently Asked Questions
What basic lighting setup is recommended for a video podcast?
Use a three‑point lighting arrangement with a key light, fill light, and back light to evenly illuminate the host and reduce shadows.
Can I achieve professional podcast lighting on a budget?
Yes, affordable LED panel kits and simple diffusion materials provide high‑quality, consistent light without costly equipment.
How does color temperature affect podcast video quality?
Matching lights to a consistent color temperature (typically 5600K daylight) ensures natural skin tones and prevents color casts on camera.
Do I need a diffuser for LED lights, and why?
A diffuser softens harsh LED output, reducing glare and creating a flattering, even illumination on the subject’s face.
What power options can I use for LED panel lights during a recording session?
LED panels can be powered via USB from a laptop, power bank, or wall adapter, offering flexible, portable lighting solutions.